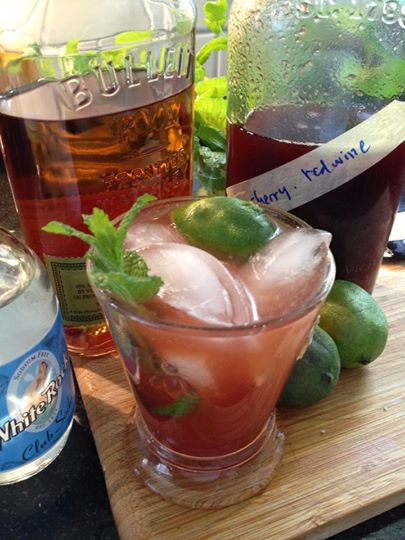
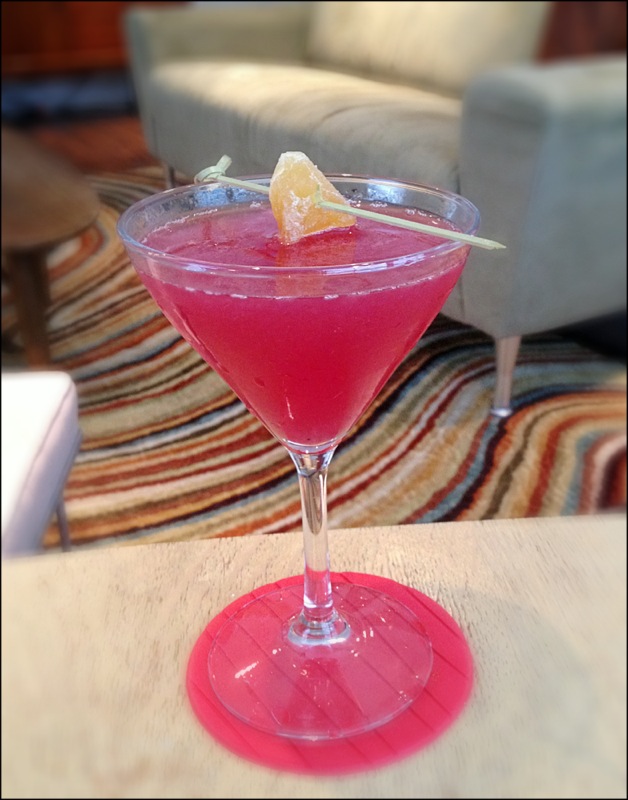
During the crucial taste-testing process! Most cocktails started as punch recipes, so this can also be scaled down to make individual drinks with 0.5 oz shrub, 1.5 oz bourbon, and top with bubbly.
A boozy punch for a crowd!
The key to making this very old school-style punch is making the oleo-saccharum, basically a process for releasing all of the goodness and zing of the lemon oils from the zest, which then gets made into a shrub to balance the fruit/acid/sugar. This is a technique of pre-Civil War era origins which I’ve messed with a bit (see sources below), popular with booze slingers from the Early American Republic through the early cocktail era. It’s a pain in the ass, for sure, to peel all those lemons, but get to work: it’s totally worth it after you’ve completed making the shrub base a couple of days later. I made this punch by request for my friends over at Sugar House Distillery for a private event they held to celebrate the release of their first bourbon whiskey. All grains sourced within 200 miles, then fermented, distilled, barreled and bottled in house! This recipe makes a quart of shrub concentrate, which when combined with three bottles bourbon and three bottles sparkling wine makes enough generous drinks for 40-60 people. Or a dozen of my friends. Collect erry’body’s keys upon arrival, just sayin’. This punch is some potent stuff!

Bourbon made in Utah! Who’d have thunk it? My buddy Jake from Sugar House Distillery and I are pretty dang excited!
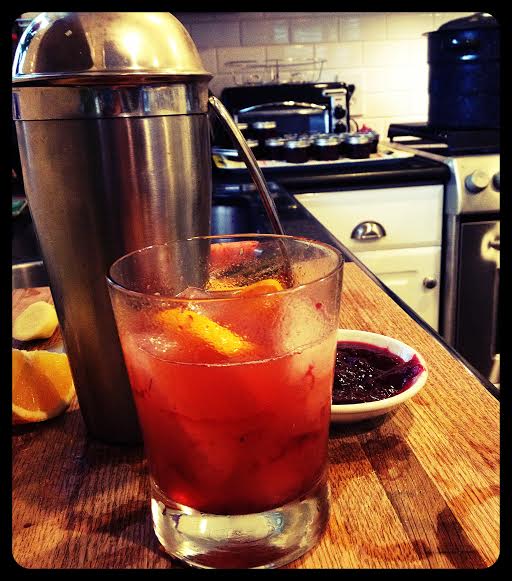
Repeal Day Punch
1 quart lemon shrub*
3 bottles bourbon
3 bottles sparkling wine (err towards brut profile)
Combine well and serve over ice
*Shrub ingredients:
6 big juicy lemons
2 1/4 cups demerara sugar (divided use)
6 allspice berries (or 1/8 tsp. ground allspice)
½ of a whole nutmeg grated finely
6 whole cardamom seeds (or are they pods? whatever, the small green things)
4-5 whole white peppercorns
1″ of a cinnamon stick (more if you really like cinnamon)
To make the shrub:
Prepare an oleo-saccharum (oil-sugar) by completely removing zest (just the peels without any white parts – a swivel potato peeler is the perfect tool for this job!) of six large juicy lemons. In a big bowl, combine the lemon peels with 1 cup demerara or raw turbinado sugar. Stir to combine, smash peels a bit with the back of a wooden spoon to grind in the sugar. Lightly cover with plastic wrap, and move to a warm spot out of direct sunlight- this bowl’s gonna be living there for a while so get used to it! Reserve all those whole peeled lemons in the refrigerator; you’ll be needing them later. Every time you remember (every 3-4 hours or so), stir and smash the sugar and peels some more. Do this for at least 12 hours and up to two days. You’ll eventually have a nice pool of lemony oily, syrupy goodness in your bowl of curly lemon peels.

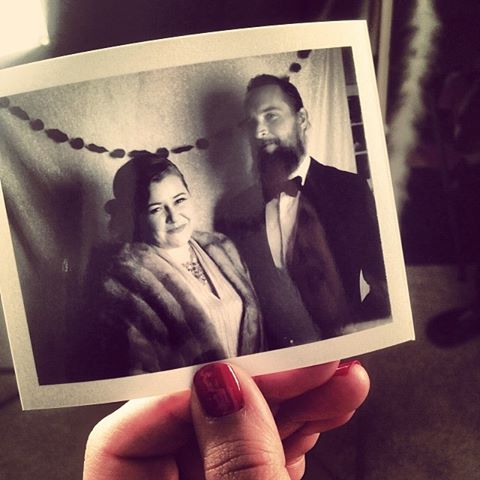
Image capture from my new friend Amanda (well, new IRL; we’ve been Instafriends for forever!) So many great folks out supporting the distillery.
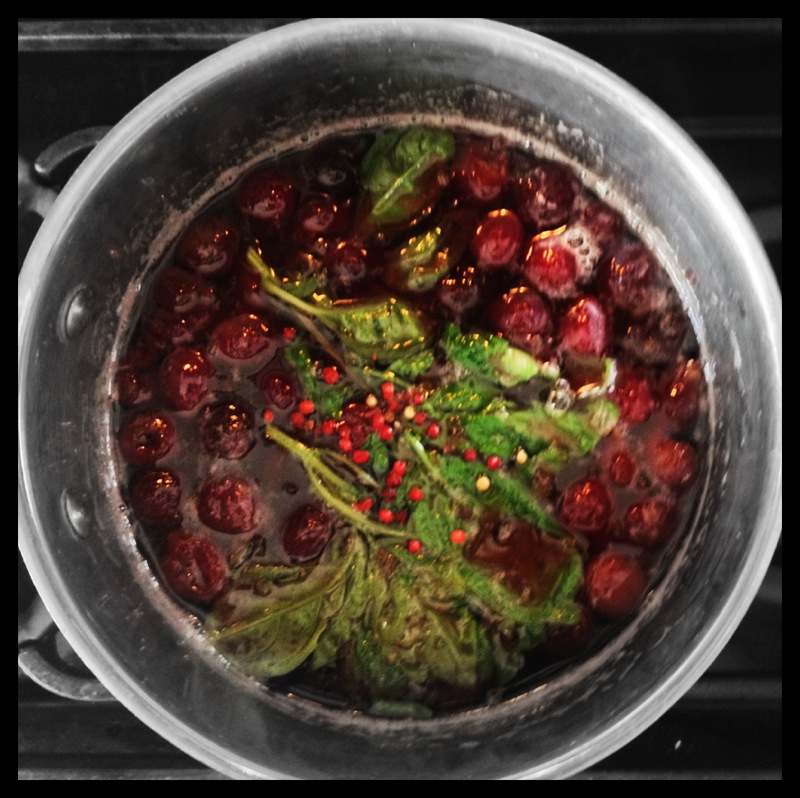
While that’s going, you can prepare the spice syrup. To a quart or other large heat-proof lidded jar, add 1 ½ cups demerara or raw turbinado sugar, bring 1 ¼ cups water to a boil, and pour hot water over the sugar. Stir until the sugar is dissolved. Add up to another 1/4 more hot water to dissolve sugar, if needed. Add the following spices to this simple syrup: 6 allspice berries (or 1/8 tsp. ground allspice), ½ of a whole nutmeg grated finely, 6 whole cardamom seeds (or are they pods? whatever), 4-5 whole white peppercorns, and a 1″ piece of a cinnamon stick. Stir well to combine, then let sit until the syrup reaches room temperature. Remove the cinnamon stick (really, or the entire brew will taste only of cinnamon). Put a lid on that jar, and refrigerate until you’ve got your oleo-saccharum nice and runny.
When the oleo-saccharum is ready, juice the reserved 6 lemons over the lemon oil (it’s great if some pulp and pips end up in the bowl, no worries! You’ll be straining this, anyway). Stir well to combine. Add the spice syrup to the bowl with the lemony goodness. Stir well again, and let sit at room temp to meld for a few hours. Stir again, then strain through a sieve with a couple layers of cheesecloth to catch all the woody bits. Decant into another lidded jar (this should make about a 4 cups/1 quart of shrub, if it’s not quite 4 cups, add enough water to fill the quart jar) and refrigerate until ready for use, up to two weeks.

PUNCH! By David Wondrich. Put it on your booze geek reading list today!
For booze geeks wanting to explore the delights of historic punch recipes, I highly recommend picking up a copy of David Wondrich’s treatise on the subject, “PUNCH: The Delights (and Dangers) of the Flowing Bowl” (Penguin, 2010). Therein he discusses the roots and uses of various recipes for making oleo-saccharum and other alcoholically alchemical wonders. The Repeal Day Punch recipe I made is loosely based on Wondrich’s historic research on the Chatham Artillery Punch, and old Georgia recipe that featured bourbon, rum, brandy mixed with lemon oil and juice in horse buckets.
Full disclosure: the guys at Sugar House Distillery paid me to curate this punch recipe for them. Which I did gladly, since their booze kicks ass and they’re fantastic fellas. -abg