Three “Big Easy” Appetizers
Our family is not great about observing Lent, but we LOVE celebrating Mardi Gras. We usually forget about Friday being meat-free [hello, bacon], and cave on our abstentions around week two. When asked why they missed so many days of Sunday School in the winter, our kids told their teachers that “everyone knows you get powder day exemptions” November to March. Don’t know if the Pope’s approved that one, but it works for us. One year, the boys decided to ‘give up’ donuts for Lent, completely undermining the only bribery that had ever worked for getting them to Mass in the first place. They are a couple of clever whippersnappers, those boys. I’m so proud.

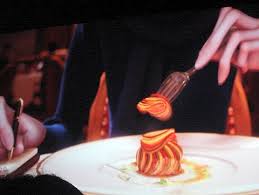
My gal Sazerac and her yummy etouffee.
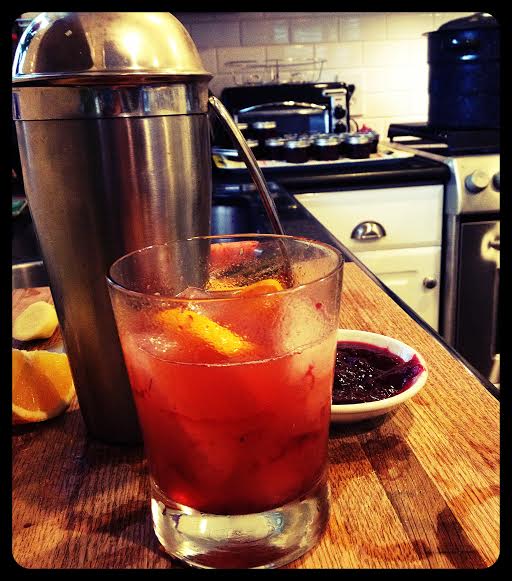
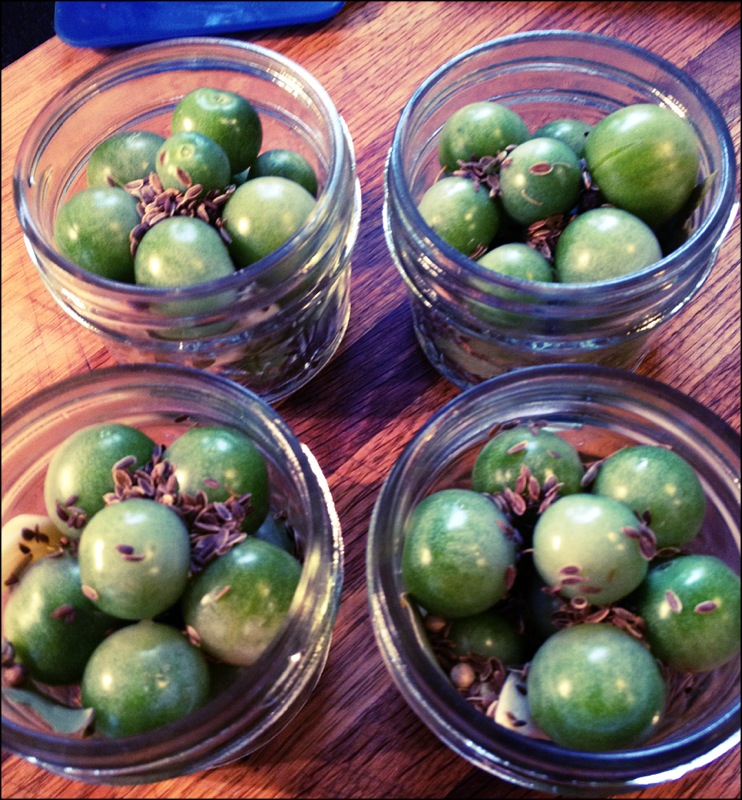
But back to Mardi Gras. I’m writing a piece about The Sazerac—one of my all-time favorite cocktails—for cityhomeCOLLECTIVE , so enlisted a specialized crew of my friends to help me out with an early photo shoot last week. I’m not gonna lie, it’s a little freaky planning my holiday life about three weeks earlier than I’m actually ready for Mardi Gras, but what’s a gal to do? Well, in this case, keep the food as simple and easy to throw together as possible, with a minimum of fuss and clean-up to boot. I’m swimming in backyard eggs from my hens, so making Southern-style deviled eggs with homemade pickled okra garnishes was an easy pick. I also snagged a big ‘ol wedge of Cajun-spiced goodness crafted by one my favorite Utah cheesemakers, Beehive Cheese, which ended up as part of an addictive filling for mushroom caps finished off in the oven right before the party. I love the savory-sweet combo of traditional Devil’s on Horseback, but changed them up a bit with Southern flavors: dates stuffed with smoked oil-packed jalapeños I put up last fall, watercress goat-cheese filling, and topped with locally-made Creminelli salumi. I’m tellin’ ya: Holy goddamn yum, y’all.
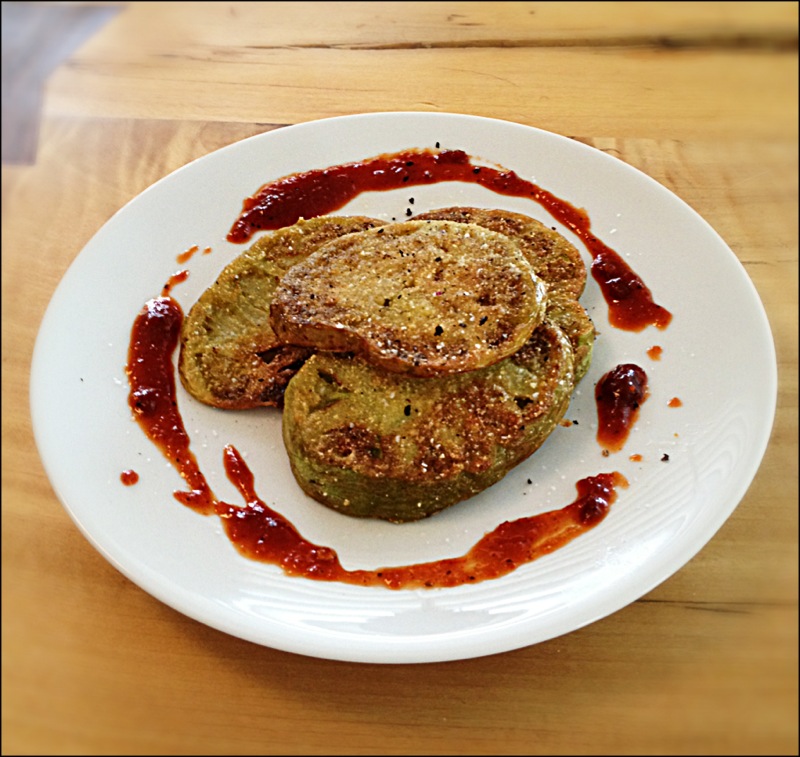
My gal Sazerac [from last Halloween’s Poison Apple party] brought fixins for crayfish etouffee and flash-fried grit cakes. She swears she just Googled “easy etouffee” and “Emeril,” and ended up with the recipe that she used and “tweaked it, maybe a little.” Well, we’re too polite to pry, but I’ll get to the bottom of this secret if I can. Oh, what I do for y’all in the name of research.
Laissez les bons temps rouler!

Crawfish Etouffee
Big John’s Cajun Stuffed ‘Shrooms
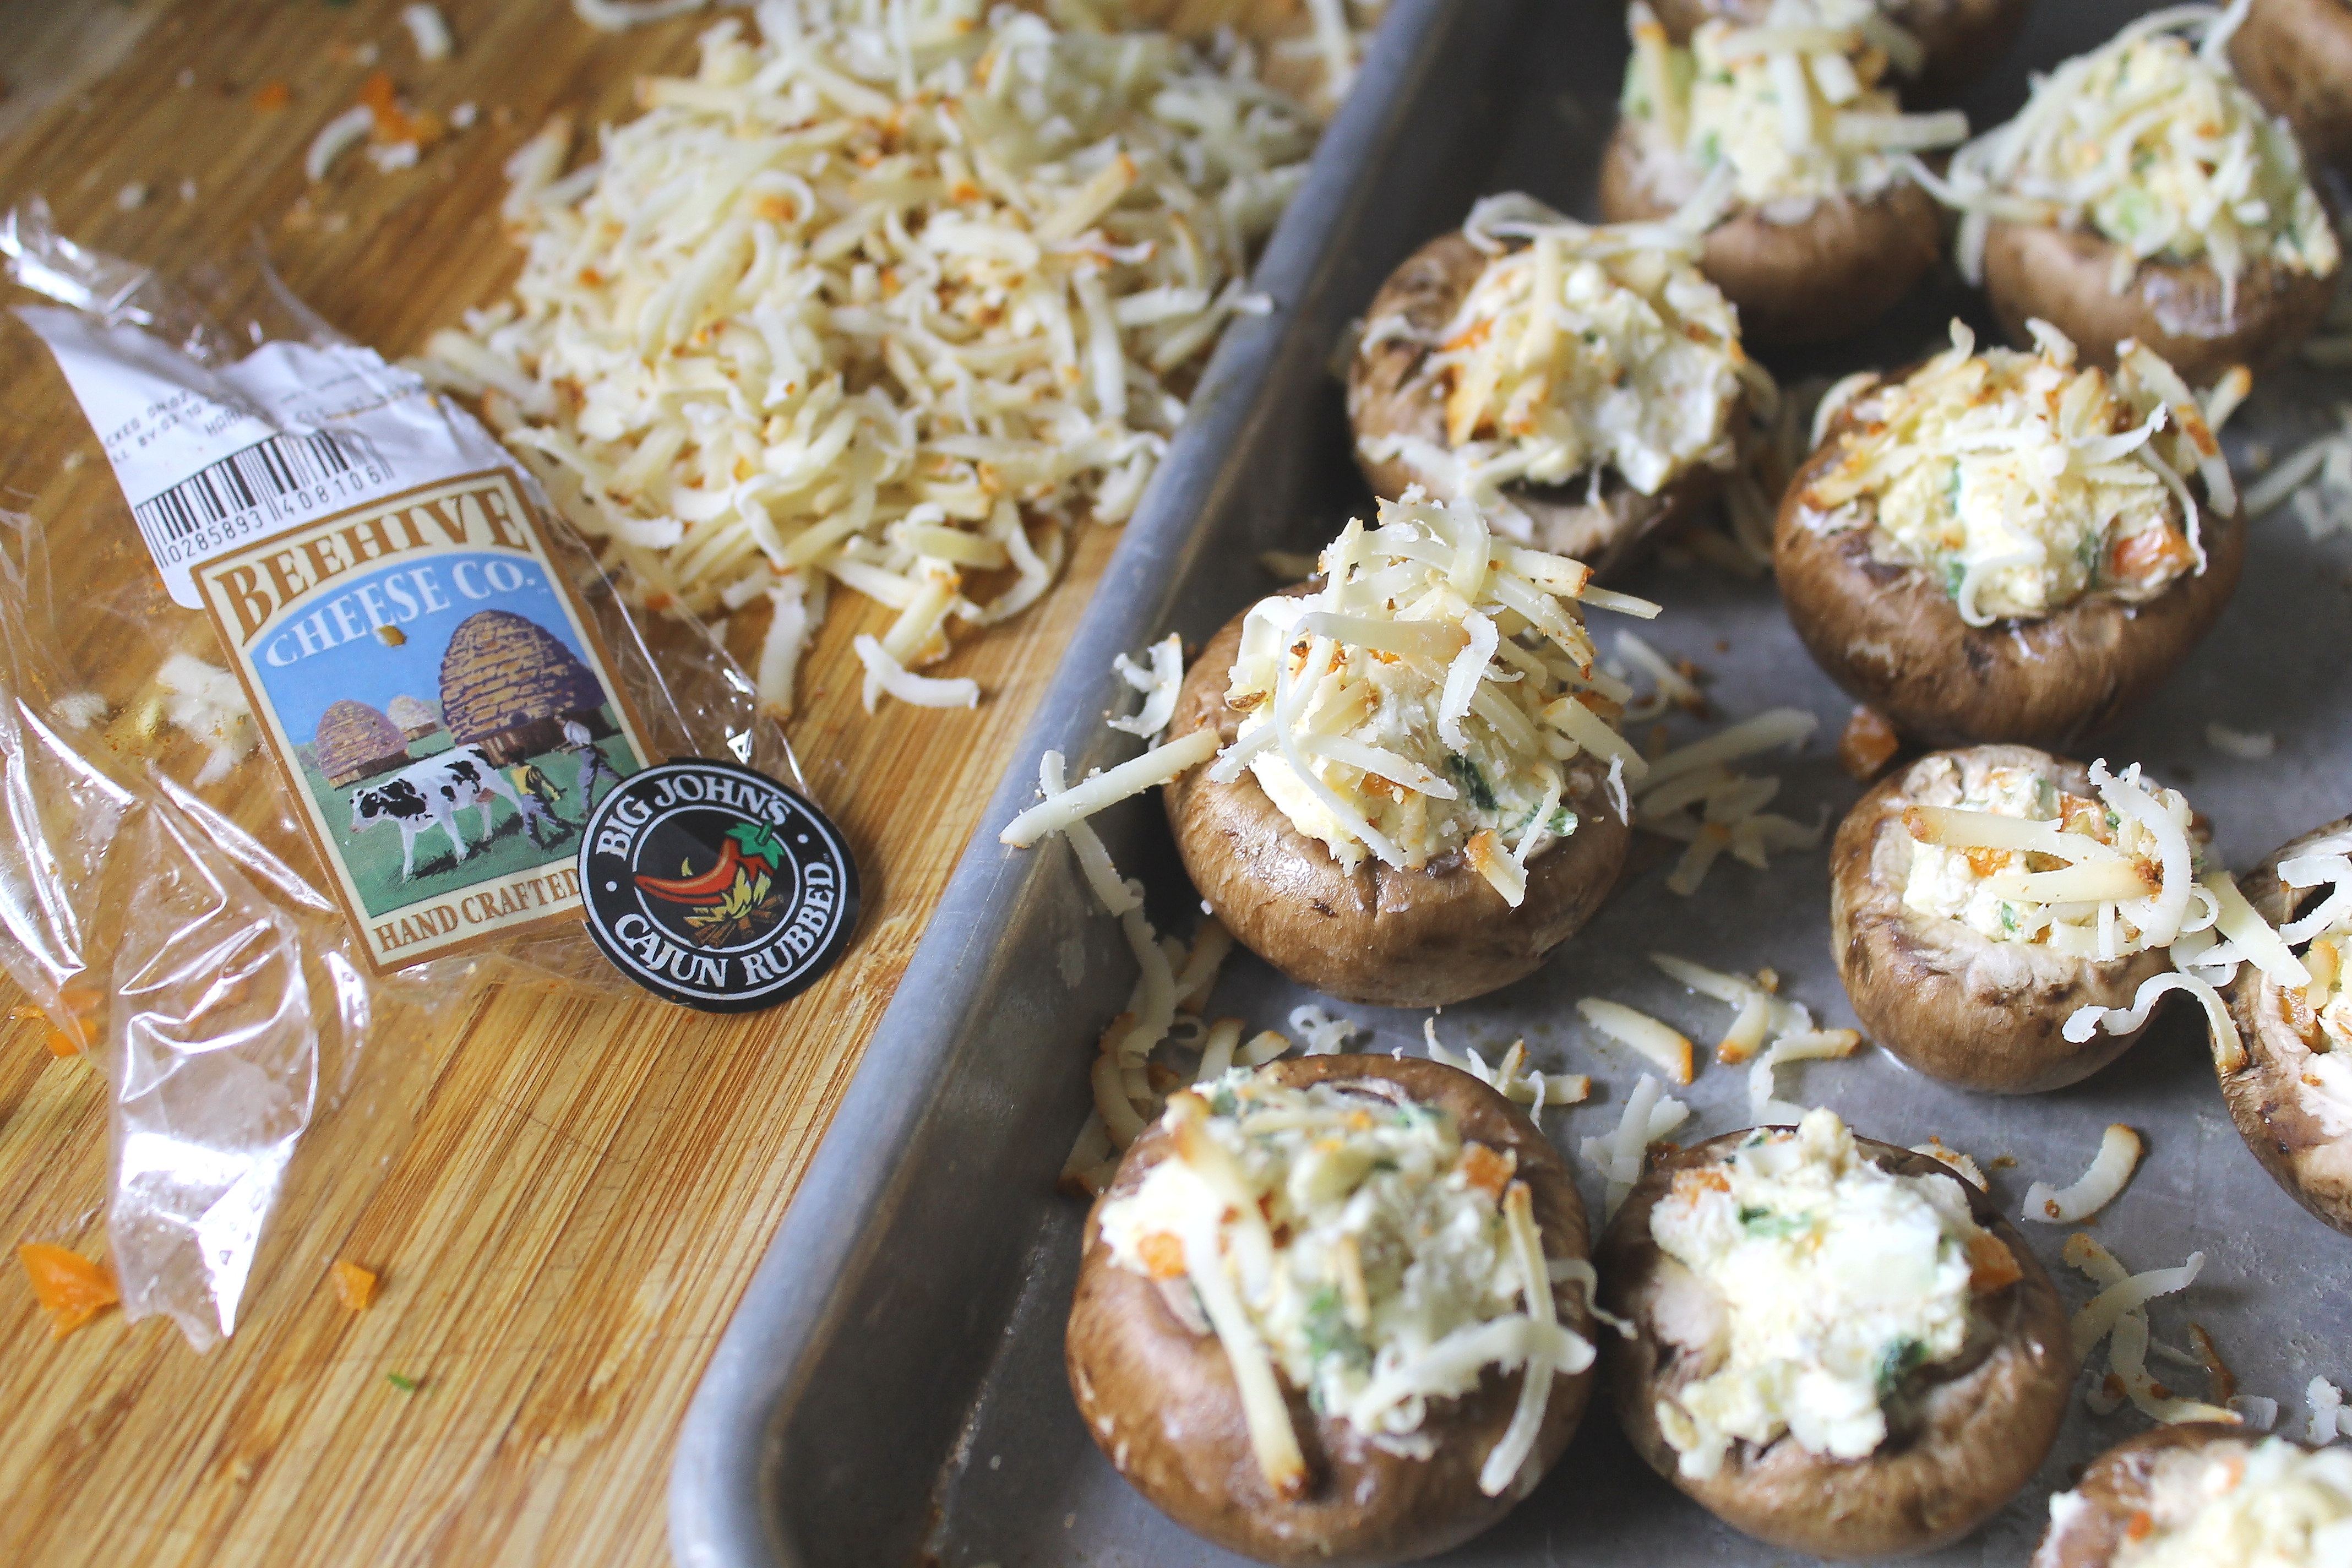
Big John’s Cajun Stuffed ‘Shrooms
These were the hands-down hit of the party. Even my man, who never eats mushrooms, scarfed down about five of these bad boys. I’m going to start making them all year ‘round, they are that good.
24 oz. baby portabella mushrooms, cleaned and stems removed
4 oz. cream cheese, softened to room temp
6 oz. Beehive Cheese “Big John Cajun,” finely shredded [divided use]
2 scallions, minced
¼ cup minced fresh red or orange bell pepper
½ tsp. kosher salt
¼ tsp. celery salt
Preheat oven to 400 degrees. Spray a large rimmed baking sheet with cooking spray. Meanwhile, combine cream cheese, 4 oz. of the shredded cheese [save about 2 oz. for topping the mushrooms], veggies, and seasoning in a bowl using a fork to smash or in a food processor using quick on/off pulses. Divide filling between all the mushroom caps evenly, adjusting for size of the mushroom as needed. Sprinkle each cap with a bit of the remaining 2 oz. shredded cheese. Bake on the middle rack in the oven until cheese is slightly browned and filling is bubbly, about 15-20 minutes. Serve warm.
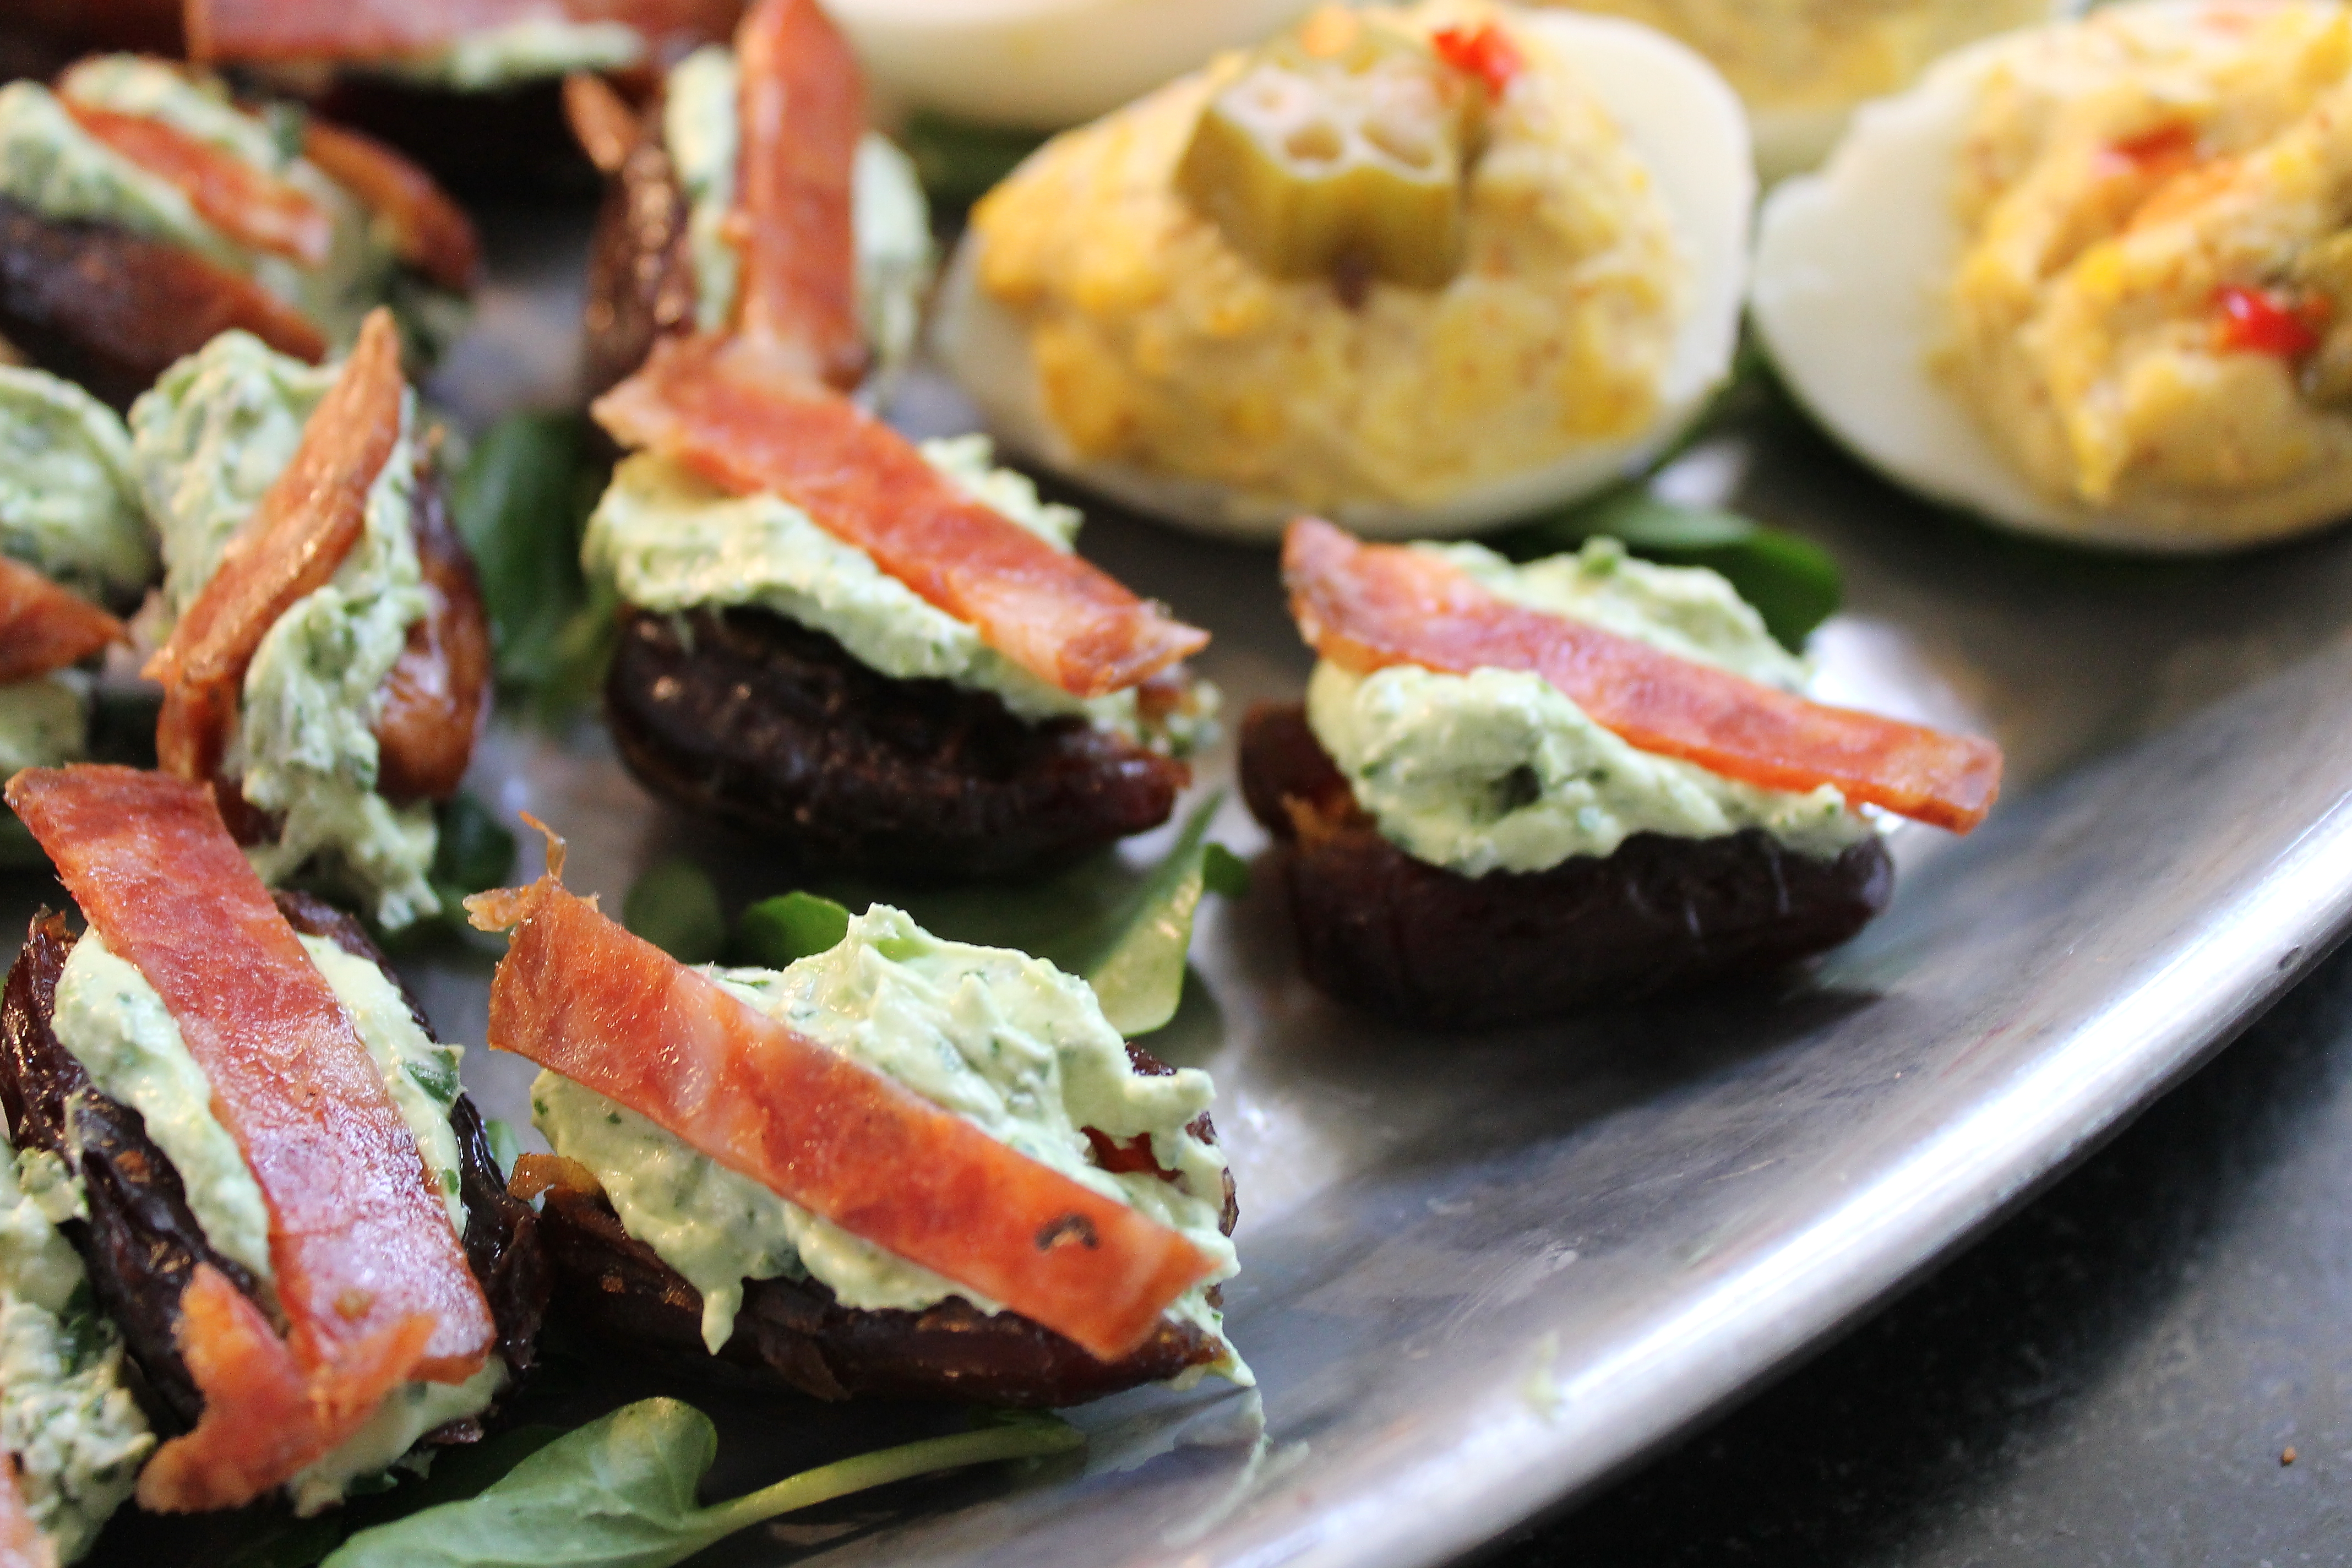
“Big Easy” Stuffed Dates

Dates with smoked preserved jalapenos, goat cheese-watercress filling, and Creminelli’s “Campania” salami
I usually use some of my home-cured wild goose or antelope andouille to top cheese stuffed dates, but am plum out right now. We are huge fans of locally-made Creminelli artisan salami, and their slightly smoky spiced uncured “Campania” variety married wonderfully with the sweet dates, tart watercress, and creamy goat cheese. The smoked preserved jalapeños [from Hank Shaw’s fantastic blog] are completely optional but highly recommended.
5 oz. goat cheese, room temp
2 oz. cream cheese, softened to room temp
½ bunch fresh watercress [about ½ cup packed]
4 dozen large dates, split down one side to open and pits removed
3-4 oz. Creminelli “Campania” salami
2-3 oz. smoked preserved jalapeños, chopped
To a small food processor add cheeses and watercress, combine until smooth using on/off pulses. To each date, stuff first with a few pieces of smoked jalepeno, add about 1 tsp. [or slightly more, depending on the size of date] cheese filling. Slice salami into thin rounds, then cut each round again into 3-4 strips. Top each date with a strip of salami. Refrigerate for up to 24 hours or serve immediately.
Campania, Goat Cheese & Watercress Stuffed Dates and Devilish Eggs with spicy okra
Devilish Eggs
Y’all know how to make perfect hard-boiled eggs with no grey ring, right? Place eggs in a shallow pan, cover with water, and bring to just a bare boil. Boil gently for one minute, then immediately turn off the heat and put a lid on the pan. Let eggs sit in the hot water for 12 minutes. Pour out the hot water, then cover eggs with cold running water and a few cubes of ice until cool to touch. Keep refrigerated until ready for use.
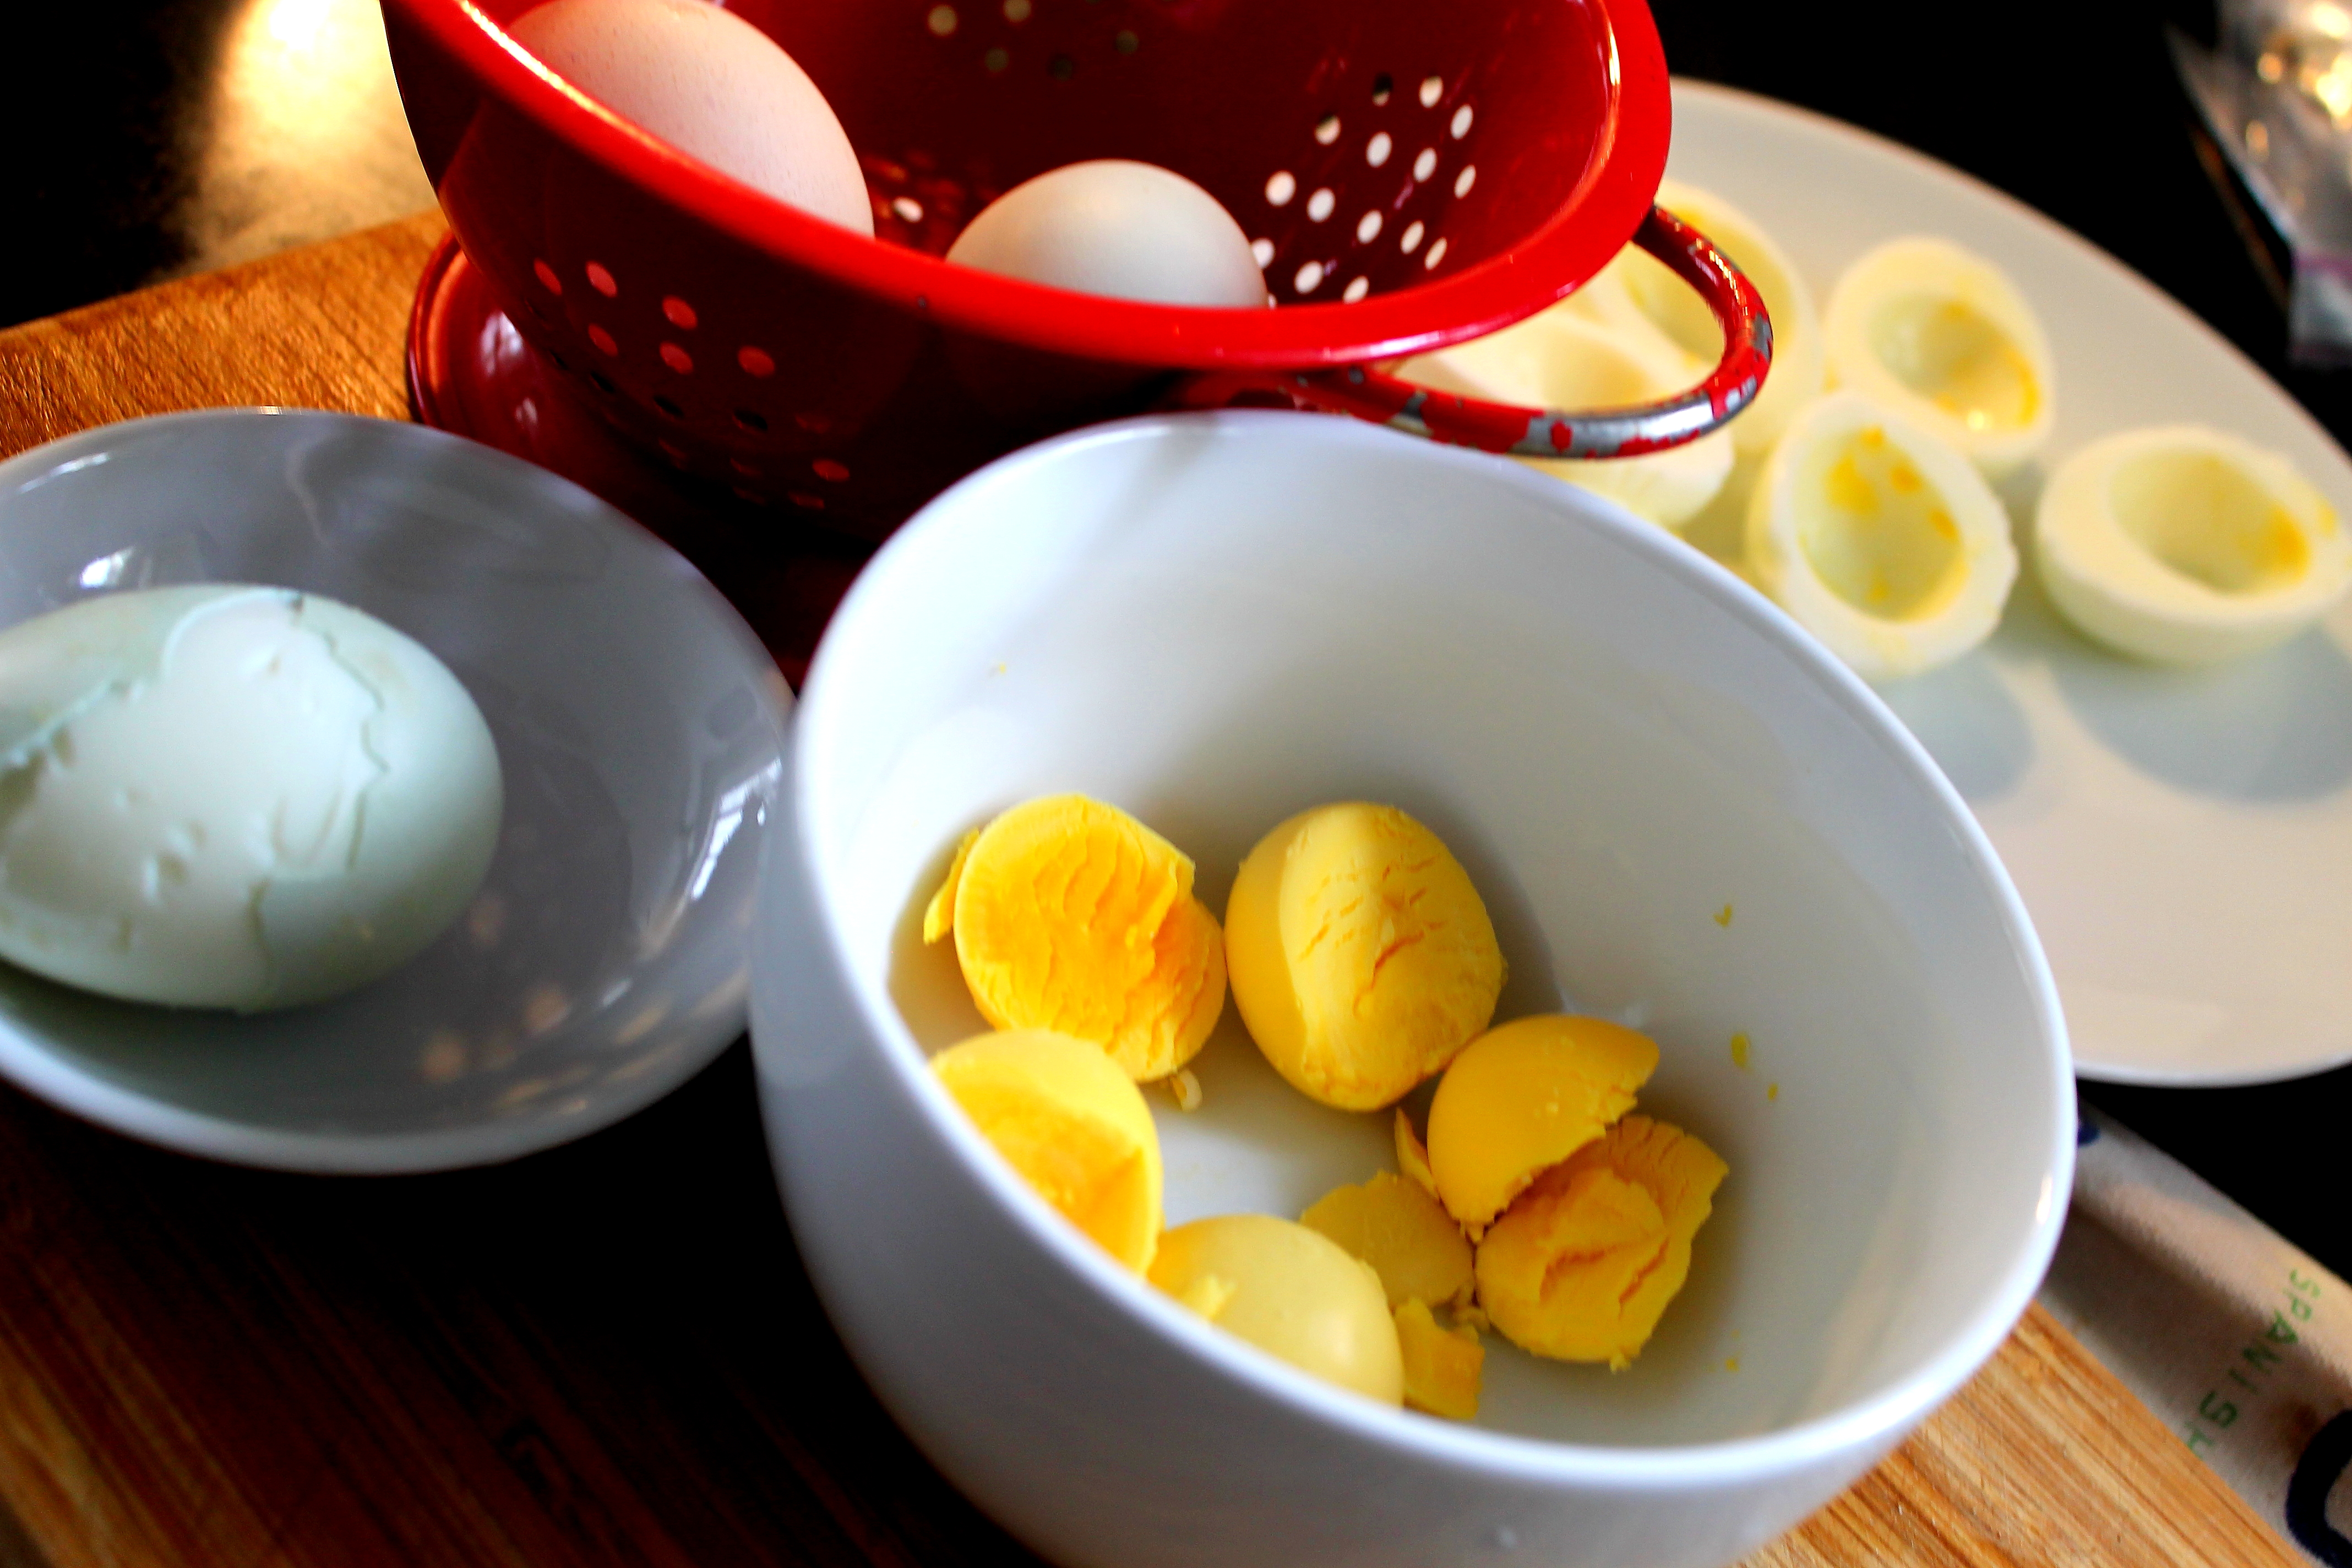
Backyard chicken eggs make for the most gorgeous yolks!

Keep ’em coming, ladies!
6 eggs, hard boiled, peeled, and cut in half [reserve yolks in a separate bowl]
3 heaping Tablespoons mayo
3 heaping teaspoons country Dijon or coarse-grained Cajun mustard
Sliced rounds of pickled okra and red pepper for garnish
A few dashes of Louisiana hot sauce, optional
Smash egg yolks with a fork until fine grained and evenly crumbly. Mix in mayo and mustard, smash to combine well. Fill egg whites equally with yolk mix. Can be covered and refrigerated for up to 12 hours. Just before serving, garnish with pickled okra and pepper rounds, and a couple of dashes of hot sauce.

Devilish Eggs