Several folks asked me why I didn’t use the perfectly wonderful opportunity of Cinco de Mayo to share some Southwestern and Mexican-inspired food and cocktail recipes on the blog. After all, I lived in New Mexico for a while and for 8 years in Arizona. But I didn’t get it done in time for the 5th because my man The Macallan and I were IN Cabo San Lucas, Mexico last week my friends, celebrating our 19th anniversary. Without kids. And quite frankly I was too busy fishing, reading on the beach, and drinking margaritas to send a remote post to the blog. It was RESEARCH, y’all.

- Me, my Roosterfish, and The Macallan’s thumb. We released this beauty, but ate a bunch of the mackerel we landed.

Cabo is justifiably famous for its spectacular sport fishing. The Macallan originally proposed we’d fish four days, but I whittled it down to two with a possible third if we didn’t catch anything after two days. We hired a guide service, Baja Anglers, for one full day exploring the spectacular beaches on the Sea of Cortez with Grant, and day fishing by boat off the coast of Cabo san Lucas with Capt. Alex and Luis. We had a terrific time and caught a LOT of fish, which you can see photos of on the Baja Anglers blog (or follow me on Instagram at “abourbongal”).

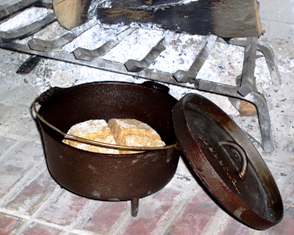
Fresh-caught mackerel three ways: all of them delicious.
After a long day of fishing, the last thing I feel like doing is going back to the rental condo kitchen with its lousy knives, matchbox-sized cutting board and sketchy non-stick pans. Ugh. In Cabo, several restaurants have “we’ll cook your catch” specials: you proudly present your fishy triumph to the waiter and voila! 15-20 minutes later the chef sends out a delicious meal. It doesn’t get much fresher than that. At Solomon’s Landing, we had our fresh-caught mackerel prepared in ceviche, cooked with a lemon-pepper sauce, crusted with coconut and fried, and in a Spanish-style tomato based sauce. The next day, we dined on mackerel cornmeal crusted and deep fried at Maro’s Shrimp House chased down with margaritas the size of our heads.
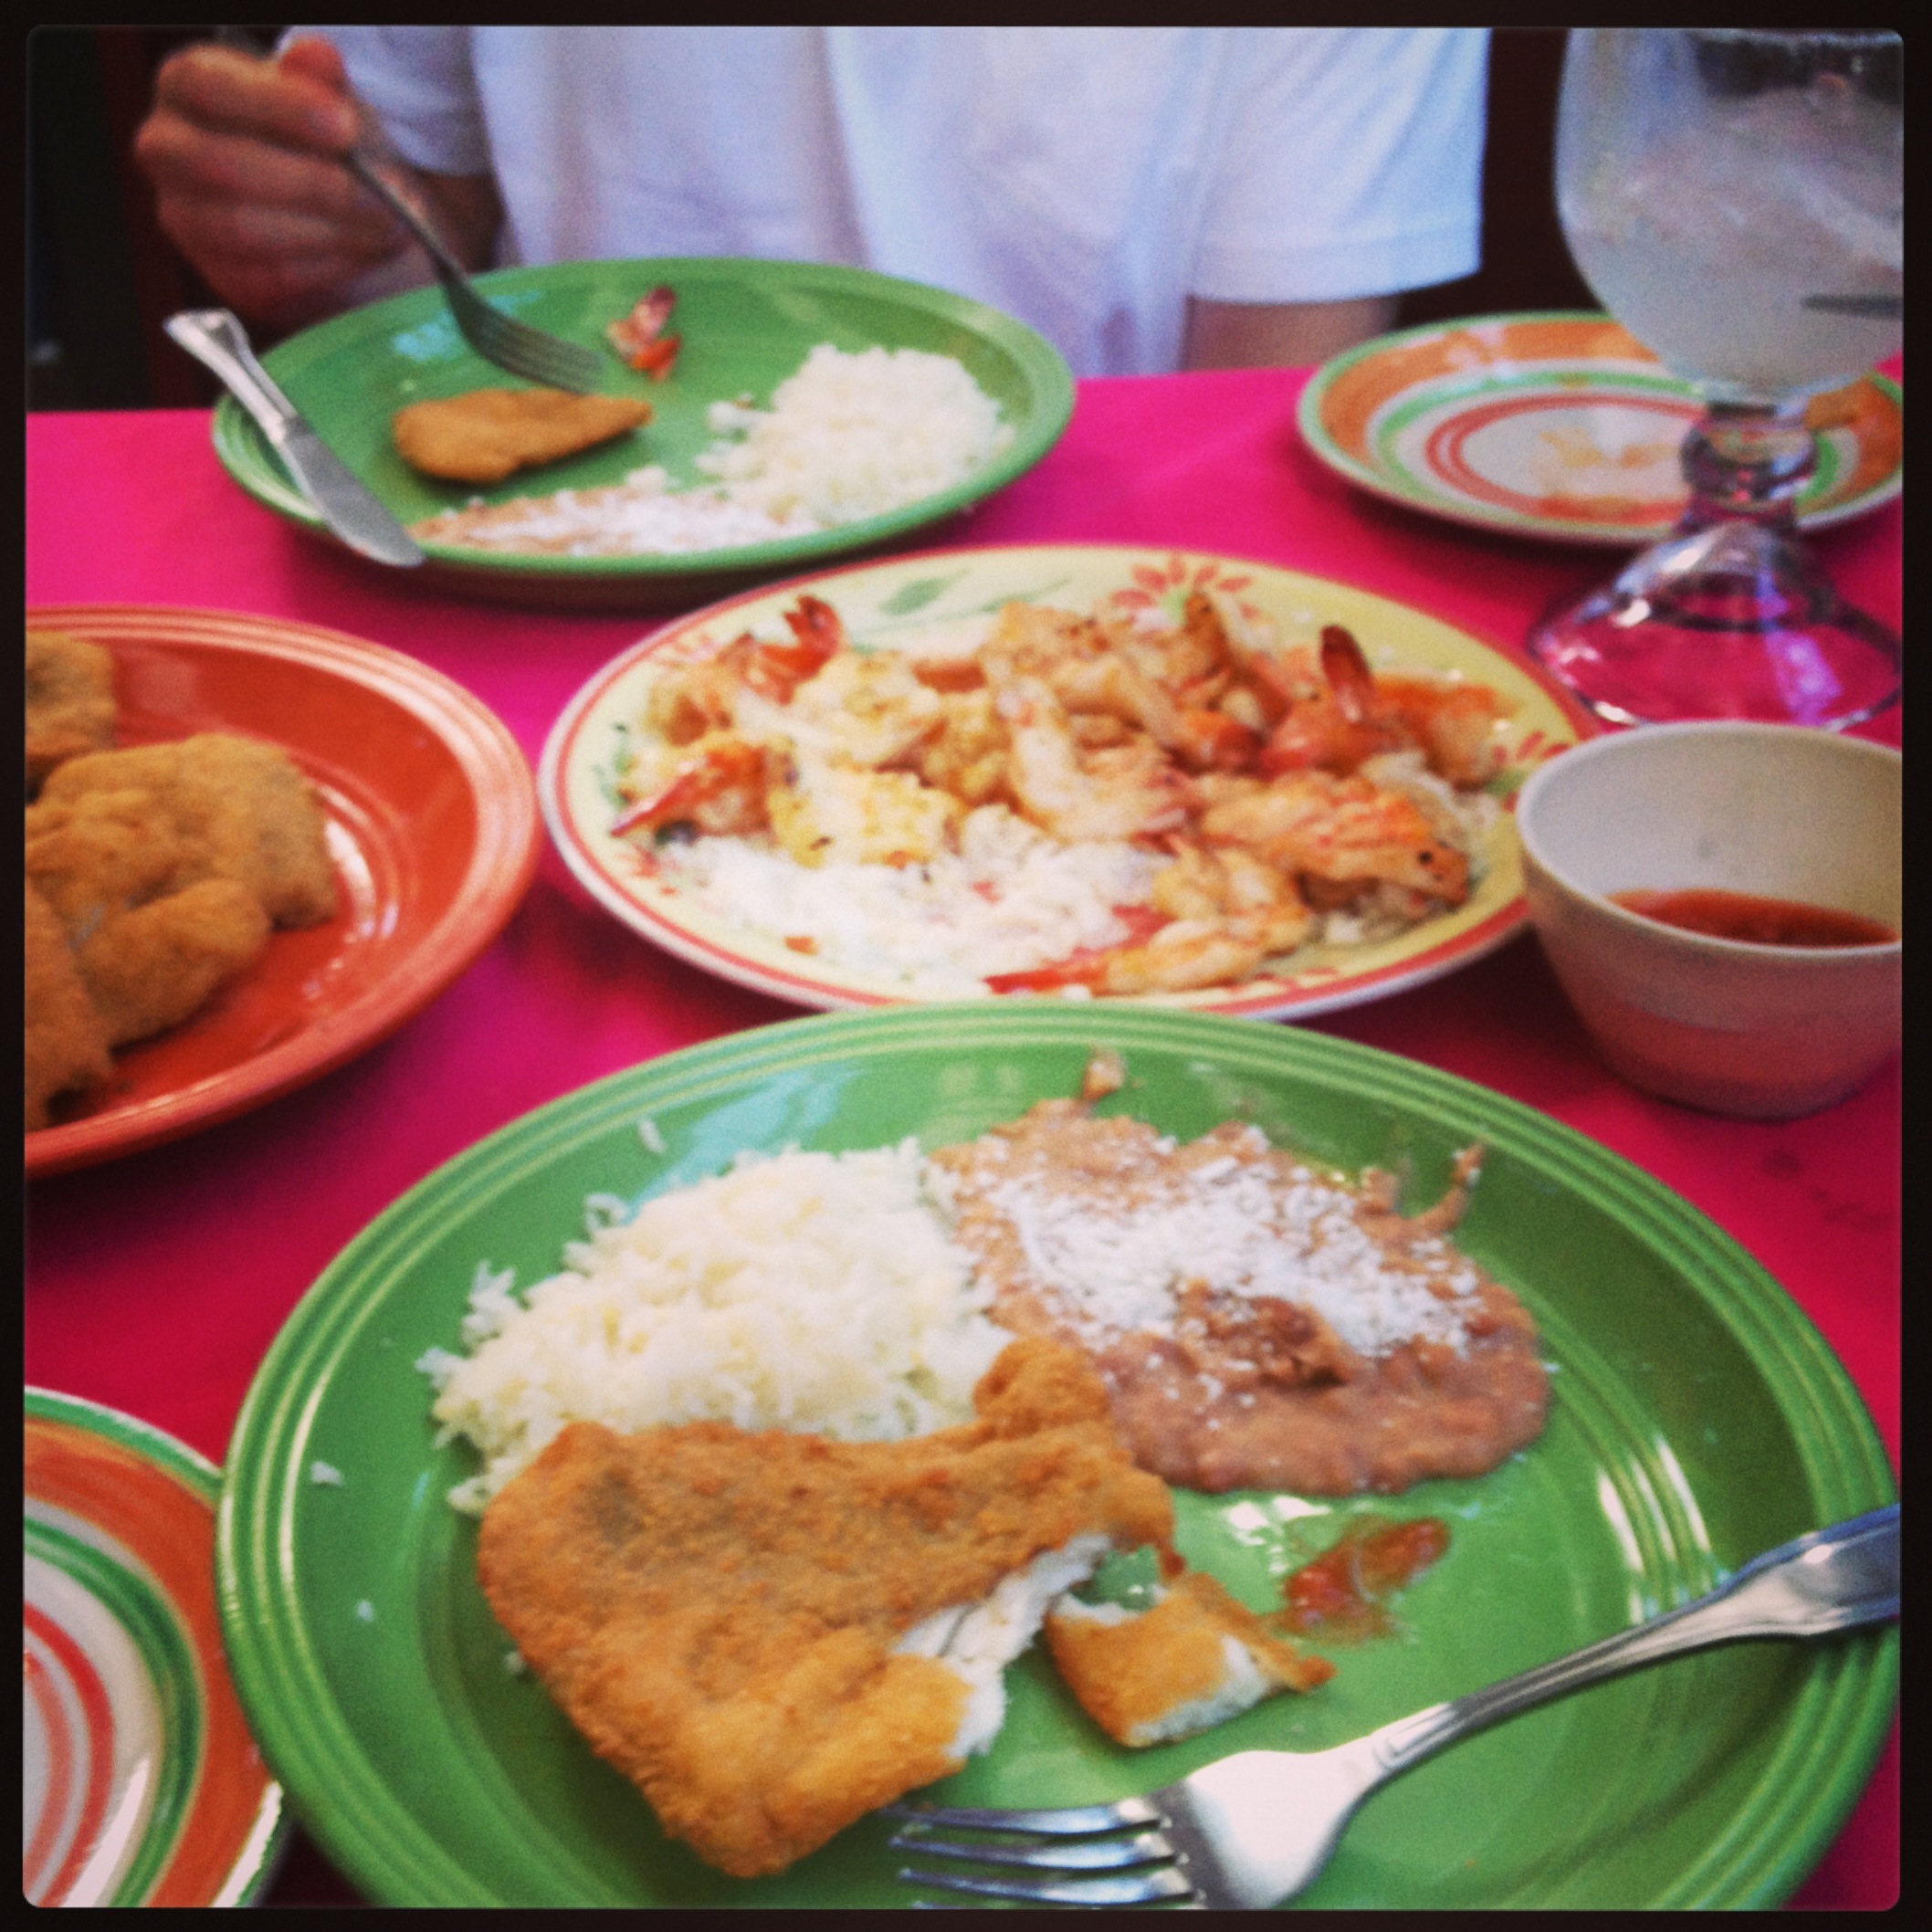
Battered and fried fresh mackerel, grilled shrimp, and huge margaritas at Maro’s Shrimp House.
Now that I’m back home, I’m more than happy to pull out my gorgeous cutting board and super-sharp hefty knives to do all of the slicing and dicing necessary to pull together my own citrusy ceviche. Sure, it’s not going to be as fresh as we had in Cabo, but every delicious bite reminds me of Mexico.
Tequila Ceviche
Don’t skimp on the citrus juice here: all of that acid is necessary to “cook” your fish. After marinating for a while, you’ll see the fish change from grey to firm, opaque, and white. A miracle of food science! And please use fresh-squeezed juice, not that stuff in the bottle.
1 lb. firm fresh fish or shellfish (like snapper, halibut, scallops, shrimp, or any combination of these) cut into ½ inch cubes
½ cup fresh-squeezed lime juice (or a combination of lime & lemon)
3 medium tomatoes, seeded and diced
½ cup red onion, diced
1 jalapeño pepper, seeded and diced
A handful of fresh cilantro, chopped (about 1/8 cup)
1 Tbs. olive oil
A generous pinch of sea salt
A splash of tequila (about 1 Tbs.)
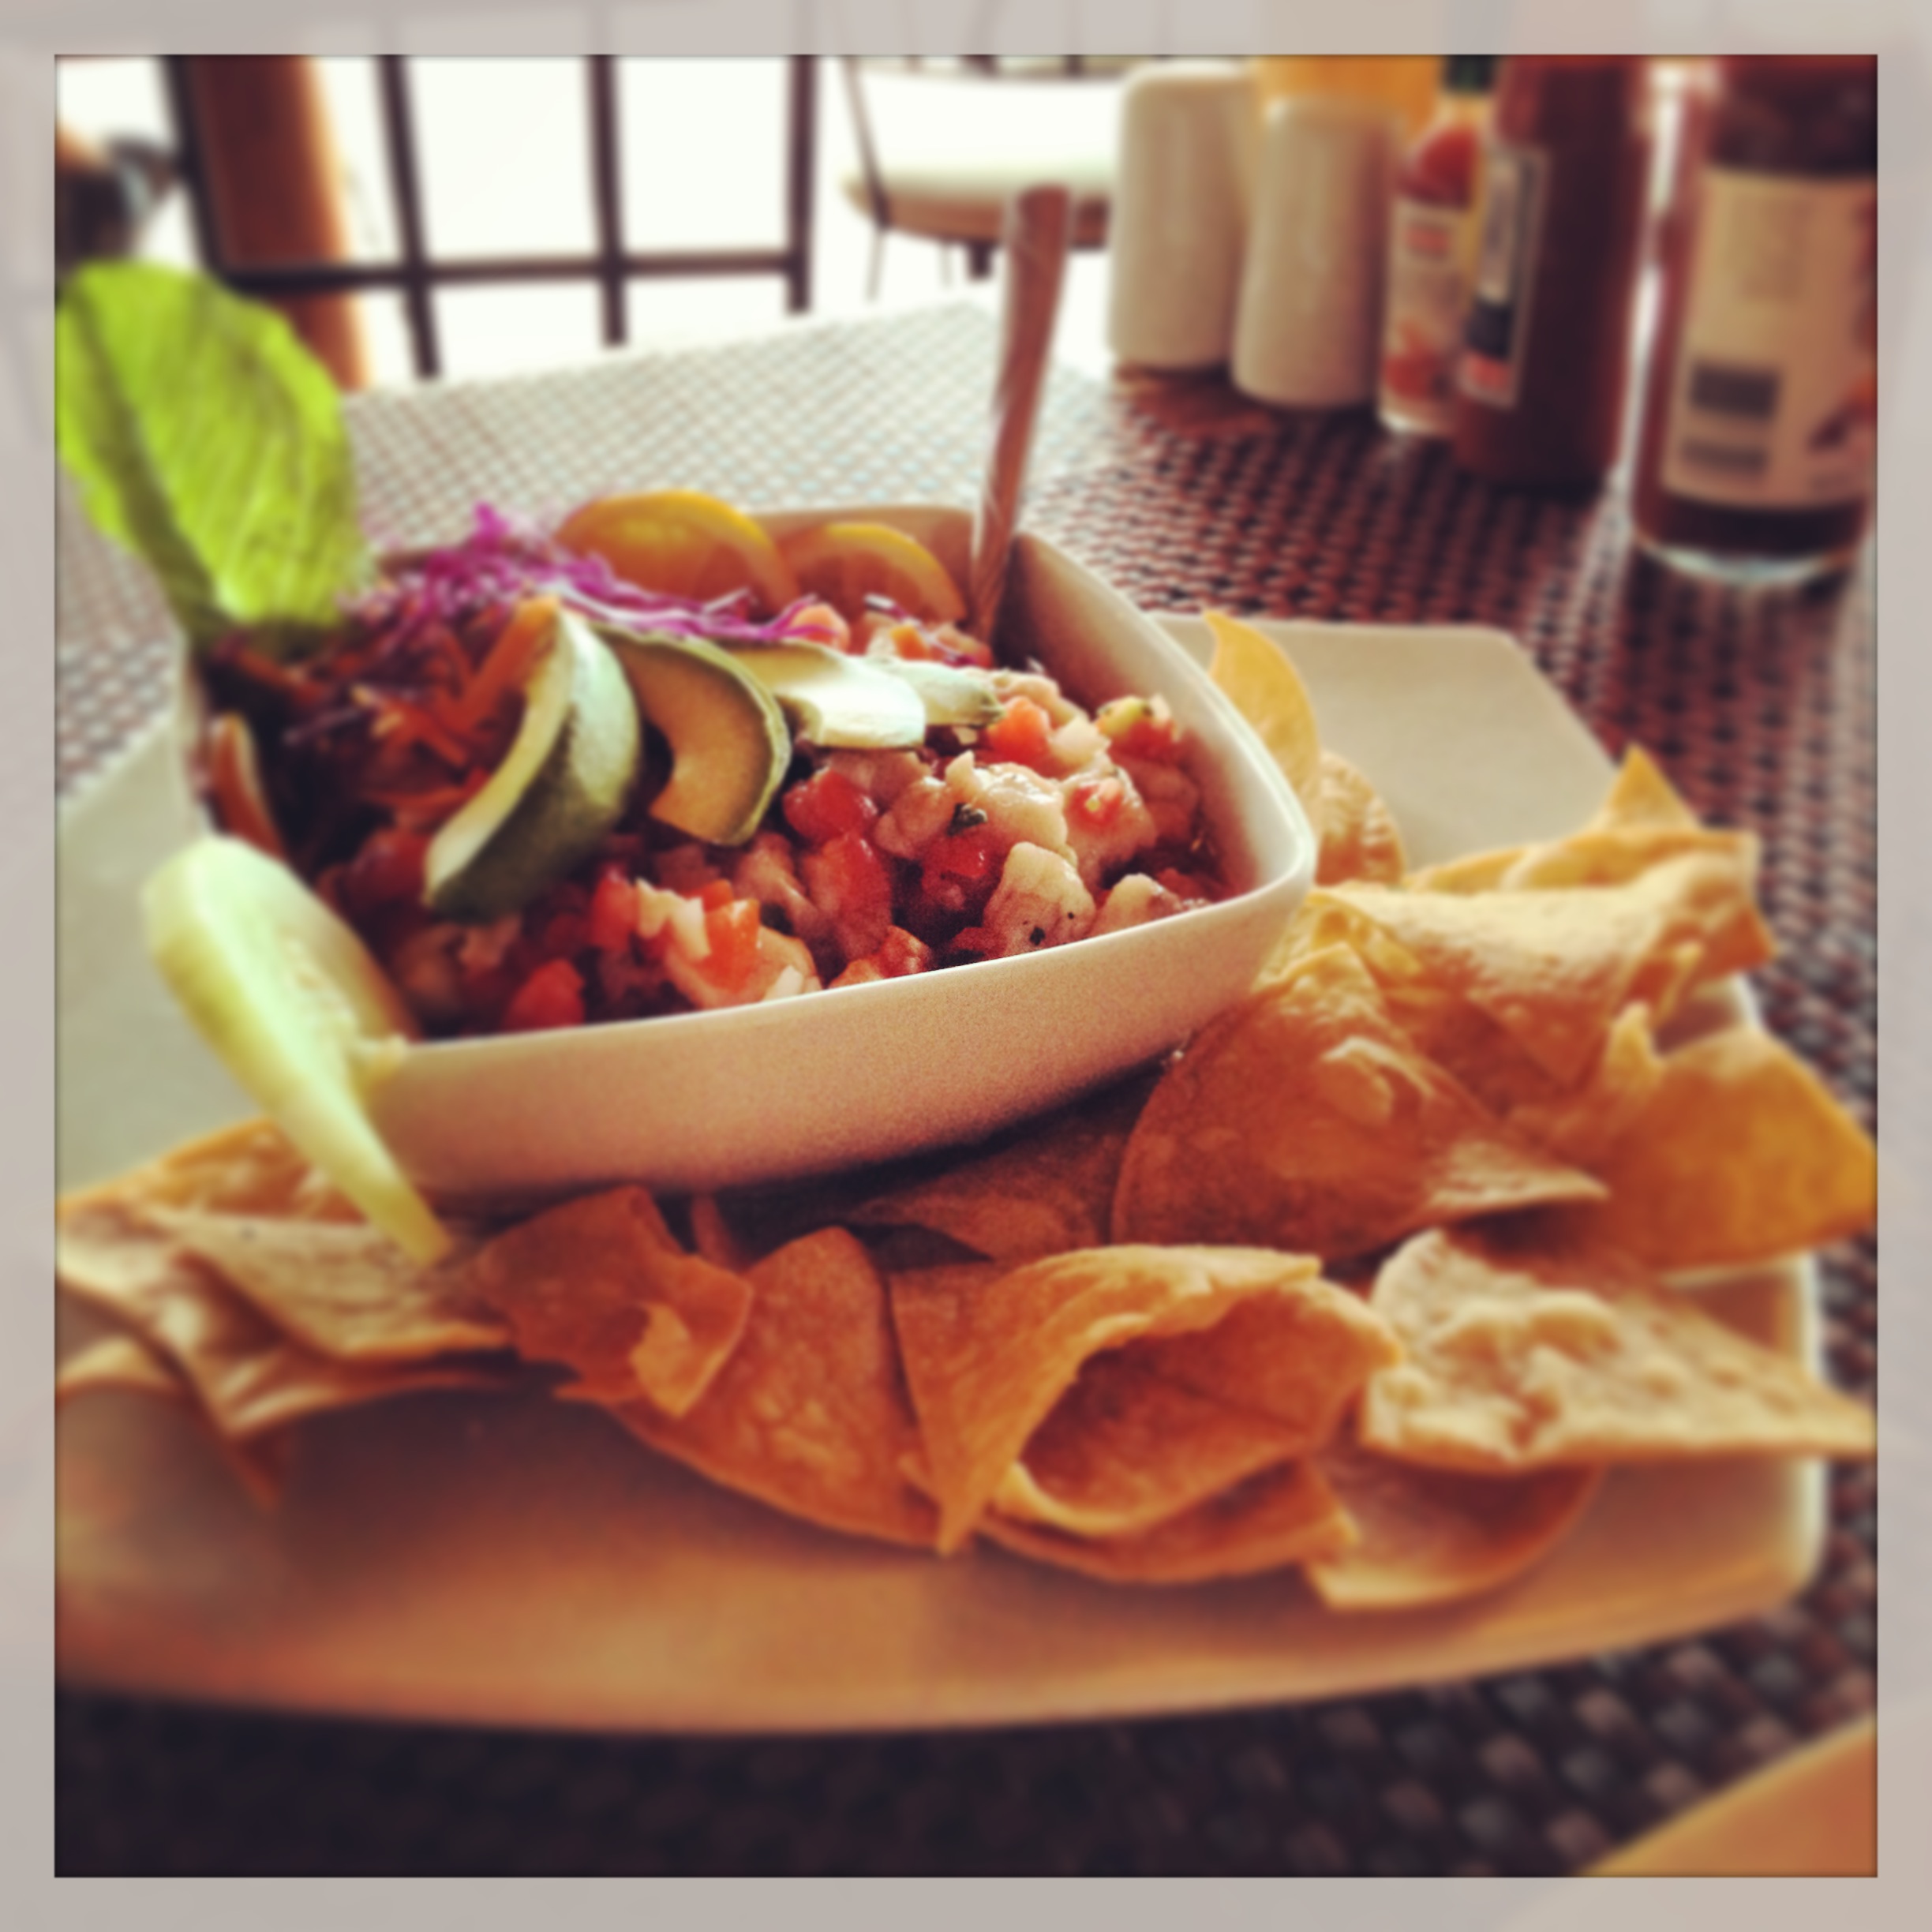
Mackerel Ceviche at Solomon’s Landing, in the marina of Cabo san Lucas
To a non-reactive casserole dish (ceramic or glass), add all of the ingredients. Very gently toss to coat. Cover with plastic wrap and place in the coldest part of your refrigerator. Stir again after 20-30 minutes to make sure all of the pieces of fish are covered with lime juice. Depending on the type of fish and how big your cubes are, the ceviche should be ready in about an hour. Garnish with avocado wedges and more fresh cilantro leaves, and serve with tortilla chips. I like mine with plenty of heat, so I add a few shakes of Mexican hot sauce (like Tapatio) to my plate.